Monday, December 30, 2013
Create a Simple Job for a Host Target in EM12c
Afternoon folks! I received a text from a customer of mine asking whether I had any documentation to create jobs in EM12c. To be specific, the job in question could have been setup via crontab or windows jobs but since I had recommended consolidation of newer jobs in EM12c, this was a good question. The easiest route was to refer the customer to Oracle Documentation, but I have a few hours to kill and thought it would make a good post.
The job in question, is a veridata compare job. You could just as easily, replace that job with <insert script name here>. I’d like to show you how to set it up.
First, let’s make sure that our script actually works. For those who are not familiar with Veridata, it is Oracle’s solution to data comparison when replication is in use. The Veridata suite contains a Command Line Interface (CLI) called vericom that can be used to perform minimal activities on the jobs and compare pairs configured within it. I should have probably written another post on configuring jobs, but I’ll leave that for another day.
My innocent script is located in the $VERIDATA_HOME directory.
[oracle@as-sandbox-n1 scripts]$ pwd
/u01/app/oracle/product/11.2.1.0/veridata/scripts
[oracle@as-sandbox-n1 scripts]$ ls -lhtr
total 4.0K
-rwxrwxrwx 1 oracle oinstall 68 Nov  8 12:43 vericom_run_job.sh
[oracle@as-sandbox-n1 scripts]$ cat vericom_run_job.sh
/u01/app/oracle/product/11.2.1.0/veridata/vericom.sh -j BLUE_YELLOW
A sample execution of the script looks like:
VERIDATA_HOME /u01/app/oracle/product/11.2.1.0/veridata
JRE_HOME: /u01/app/oracle/product/11.2.1.0/veridata/jre
JAVA_OPTS: -Xmx1024m -Djava.awt.headless=true
Oracle GoldenGate Veridata Command Line Interface - Version 11.2.1.0  OGGVDT_11.2.1.0.0_PLATFORMS_121108.1625
Job BLUE_YELLOW started
Run ID: (1027,0,0)
Number of Compare Pairs: 3
Number of Compare Pairs With Errors: 3
Number of Compare Pairs With OOS: 0
Number of Compare Pairs With No OOS: 0
Number of Compare Pairs Cancelled: 0
Job Report Filename: /u01/app/oracle/product/11.2.1.0/veridata/shared/data/rpt/BLUE_YELLOW/00001027/BLUE_YELLOW.rpt
Run ID: (1027,0,0)
Job Completion Status: IN SYNC
That was the easy part :)
1. Now, let’s log into EM12c and navigate to the Jobs home page.

2. Since we need to create a job and the default option under “Create Library Job” is set to “OS Command”, click on Go.

3. From here, you can give the job a name and description, and add a target where it will run.

4. In the parameters tab, enter the absolute path of the script. You have the option of embedding the script within the job itself by choosing a different “Command Type”.

5. I already have a Preferred Named Credential Set configured for this host, so the defaults as left. Alternatively, you could pick one of the other two options as well, but it all depends on your configuration.

6. The insane schedule is merely to illustrate a point. You can pick your own.

7. I generally do not make alterations to the Access tab, however, you may want to delegate ownership and access to other users. Click on “Save to Library”.

8. And that’s it!

9. I waited a few minutes before checking for the jobs activity.

10. Cool, the first one completed successfully. You can drill down to the log of the execution.

I’ve only scratched the surface of the job system in EM12c. There are several other options while creating jobs (see screenshot below). One of the most interesting for me are the multi-task jobs which I hope to write an article on eventually.

For the moment, I hope you enjoyed the article and found it useful.
Cheers!
Thursday, December 5, 2013
GoldenGate Veridata 11.2.1 Agent Installation
Components:
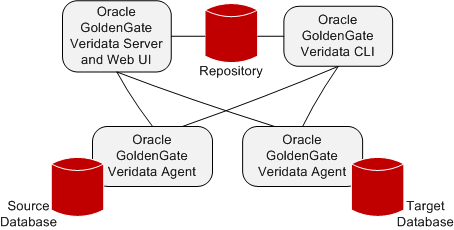
For this example, I will install the Java based agent.
Installation
1. Create the Tablespace, User, and Grant Privileges.
SQL> create tablespace ggate_data datafile '/u003/oradata/gvddvs01/ggate_ata.dbf' size 500m autoextend on;
2. Create directories
greed101:(oracle) [green] $ echo $ORACLE_HOME
3. Unzip Binaries
greed101:(oracle) [green] $ ls -ltr
4. Create a copy of the agent.properties.sample file as agent.properties and edit the files highlighted.
# Copyright (c) 2011, 2012, Oracle and/or its affiliates. All rights reserved.
5. Set the JRE_HOME or JAVA_HOME parameter, and start the agent.
greed101:(oracle) [green] $ ./agent.sh start
6. Check the agent run log
greed101:(oracle) [green] $ ./agent.sh run
7. Check the log for messages
greed101:(oracle) [green] $ cat /u001/app/oracle/product/veridata/agent/veridata-agent.log
Tuesday, November 26, 2013
GoldenGate Veridata 11.2.1 Server Installation
Veridata is Oracle’s answer to Data Validation for environments where a replication technology is utilized. In other words, the tool is agnostic (but partial) to a set Database vendors. You can install it on a variety of platforms, and a few database types.
Components:
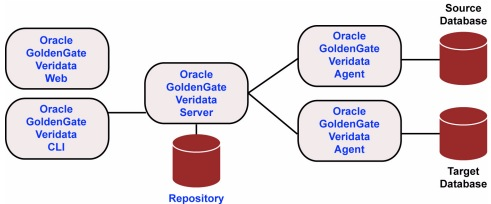
Installation
1. Download and unzip the media from eDelivery.
2. Invoke the bash script to start the installer.
3. Click “Next”.
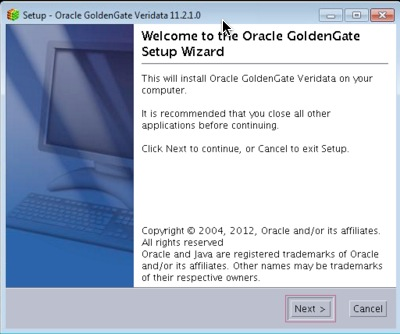
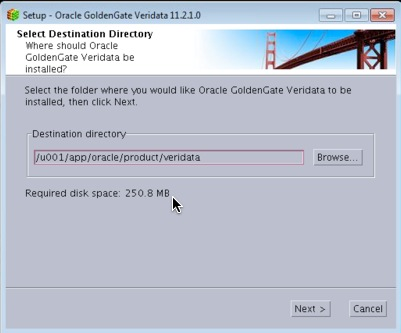
4. Pick your installation directory and click “Next”.
5. On the ports section, click “Next”.
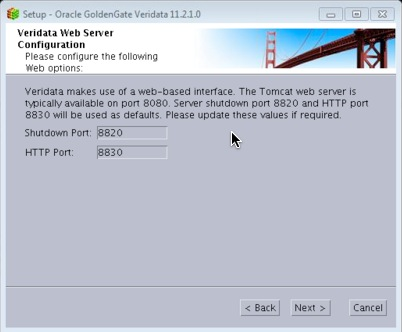
6. Leave the defaults and click “Next”.
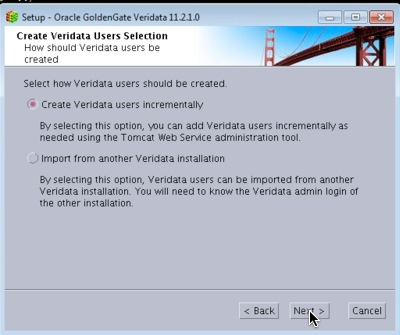
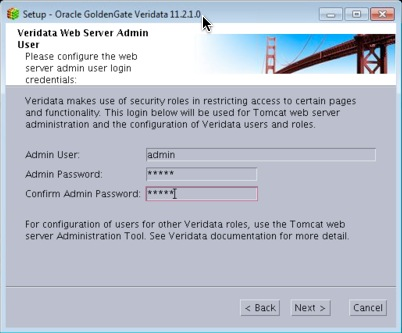
7. Enter at the account username and password. This will be used to install the tables in the repository database.
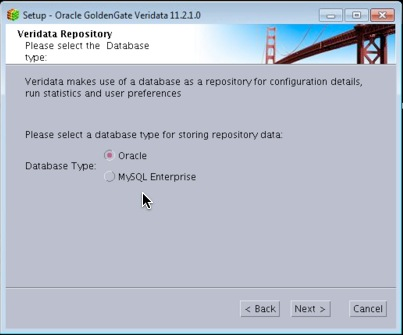
8. Of course we will chose “Oracle” :)
9. Confirm the Oracle Home (Veridata Home) location.
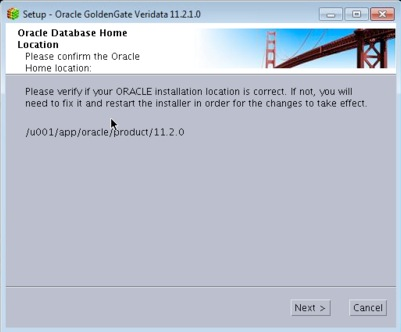
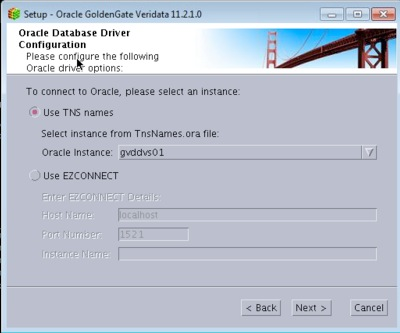
10. Select and Instance and click Continue. This article assumes that the Veridata installation is on the same server as its intended repository.
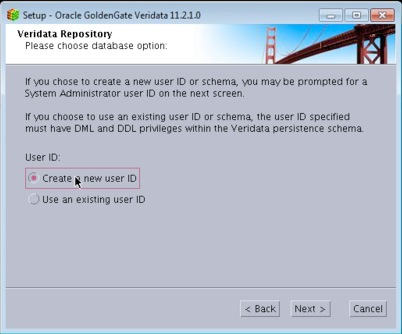
11. I will let the installer create a new user for me.
12. Enter the DBA
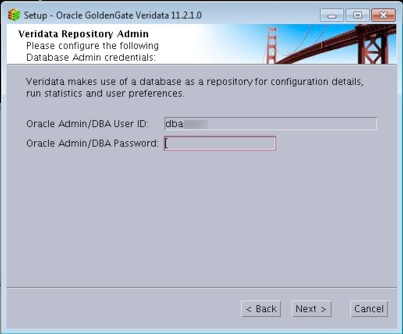
13. On the next screen, enter the oracle database user where the Veridata objects will be installed.
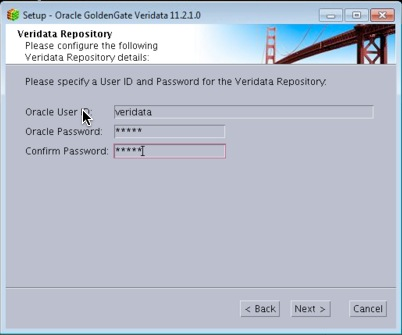
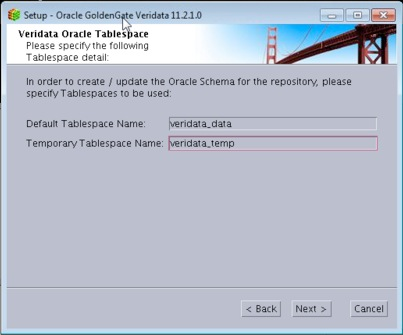
14. Enter the default, and temp tablespace for the above user.
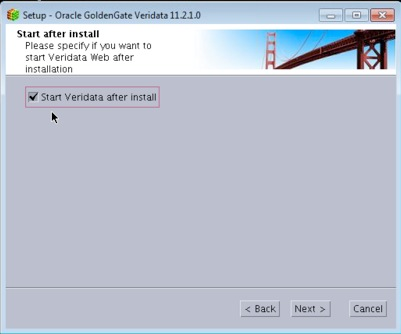
15. Check the box if you want it to start Veridata after the installation.
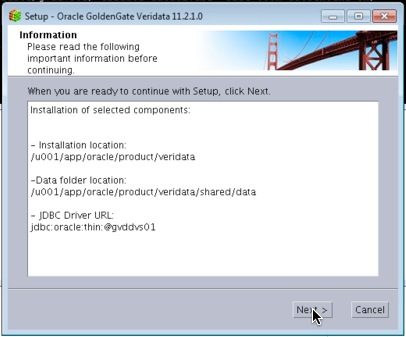
16. Review the settings and click “Next”.
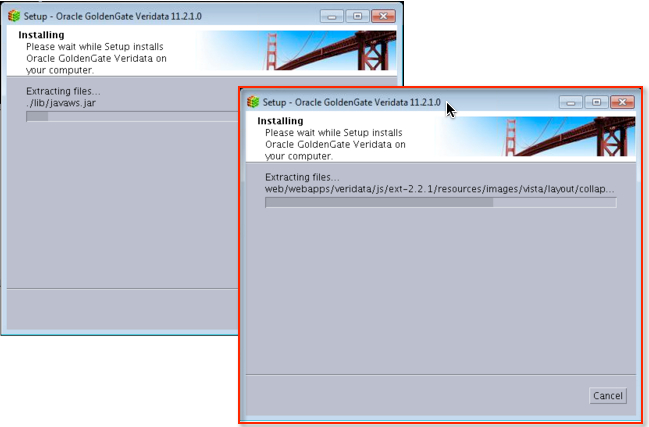
17. Progress is always good.
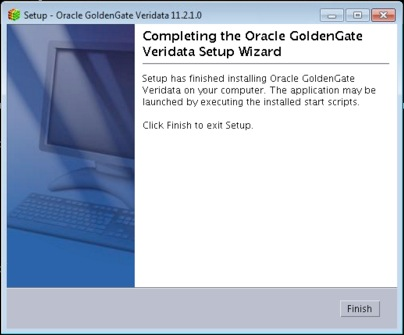
18. Awesome! All done.
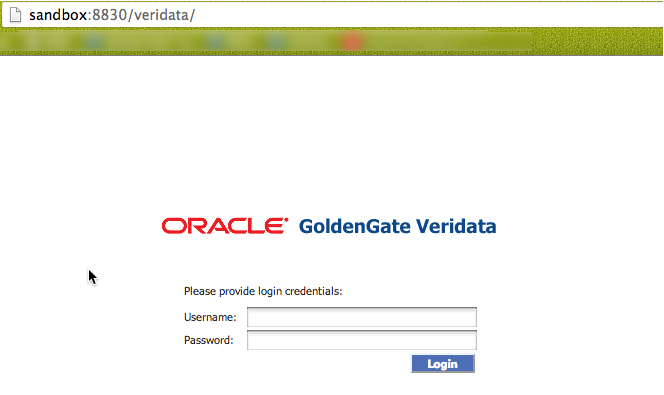
At this point, we can log into the Veridata Server successfully!
In subsequent posts, I will discuss the other aspects such as the Veridata Agent install, Configuration, etc.
Cheers!